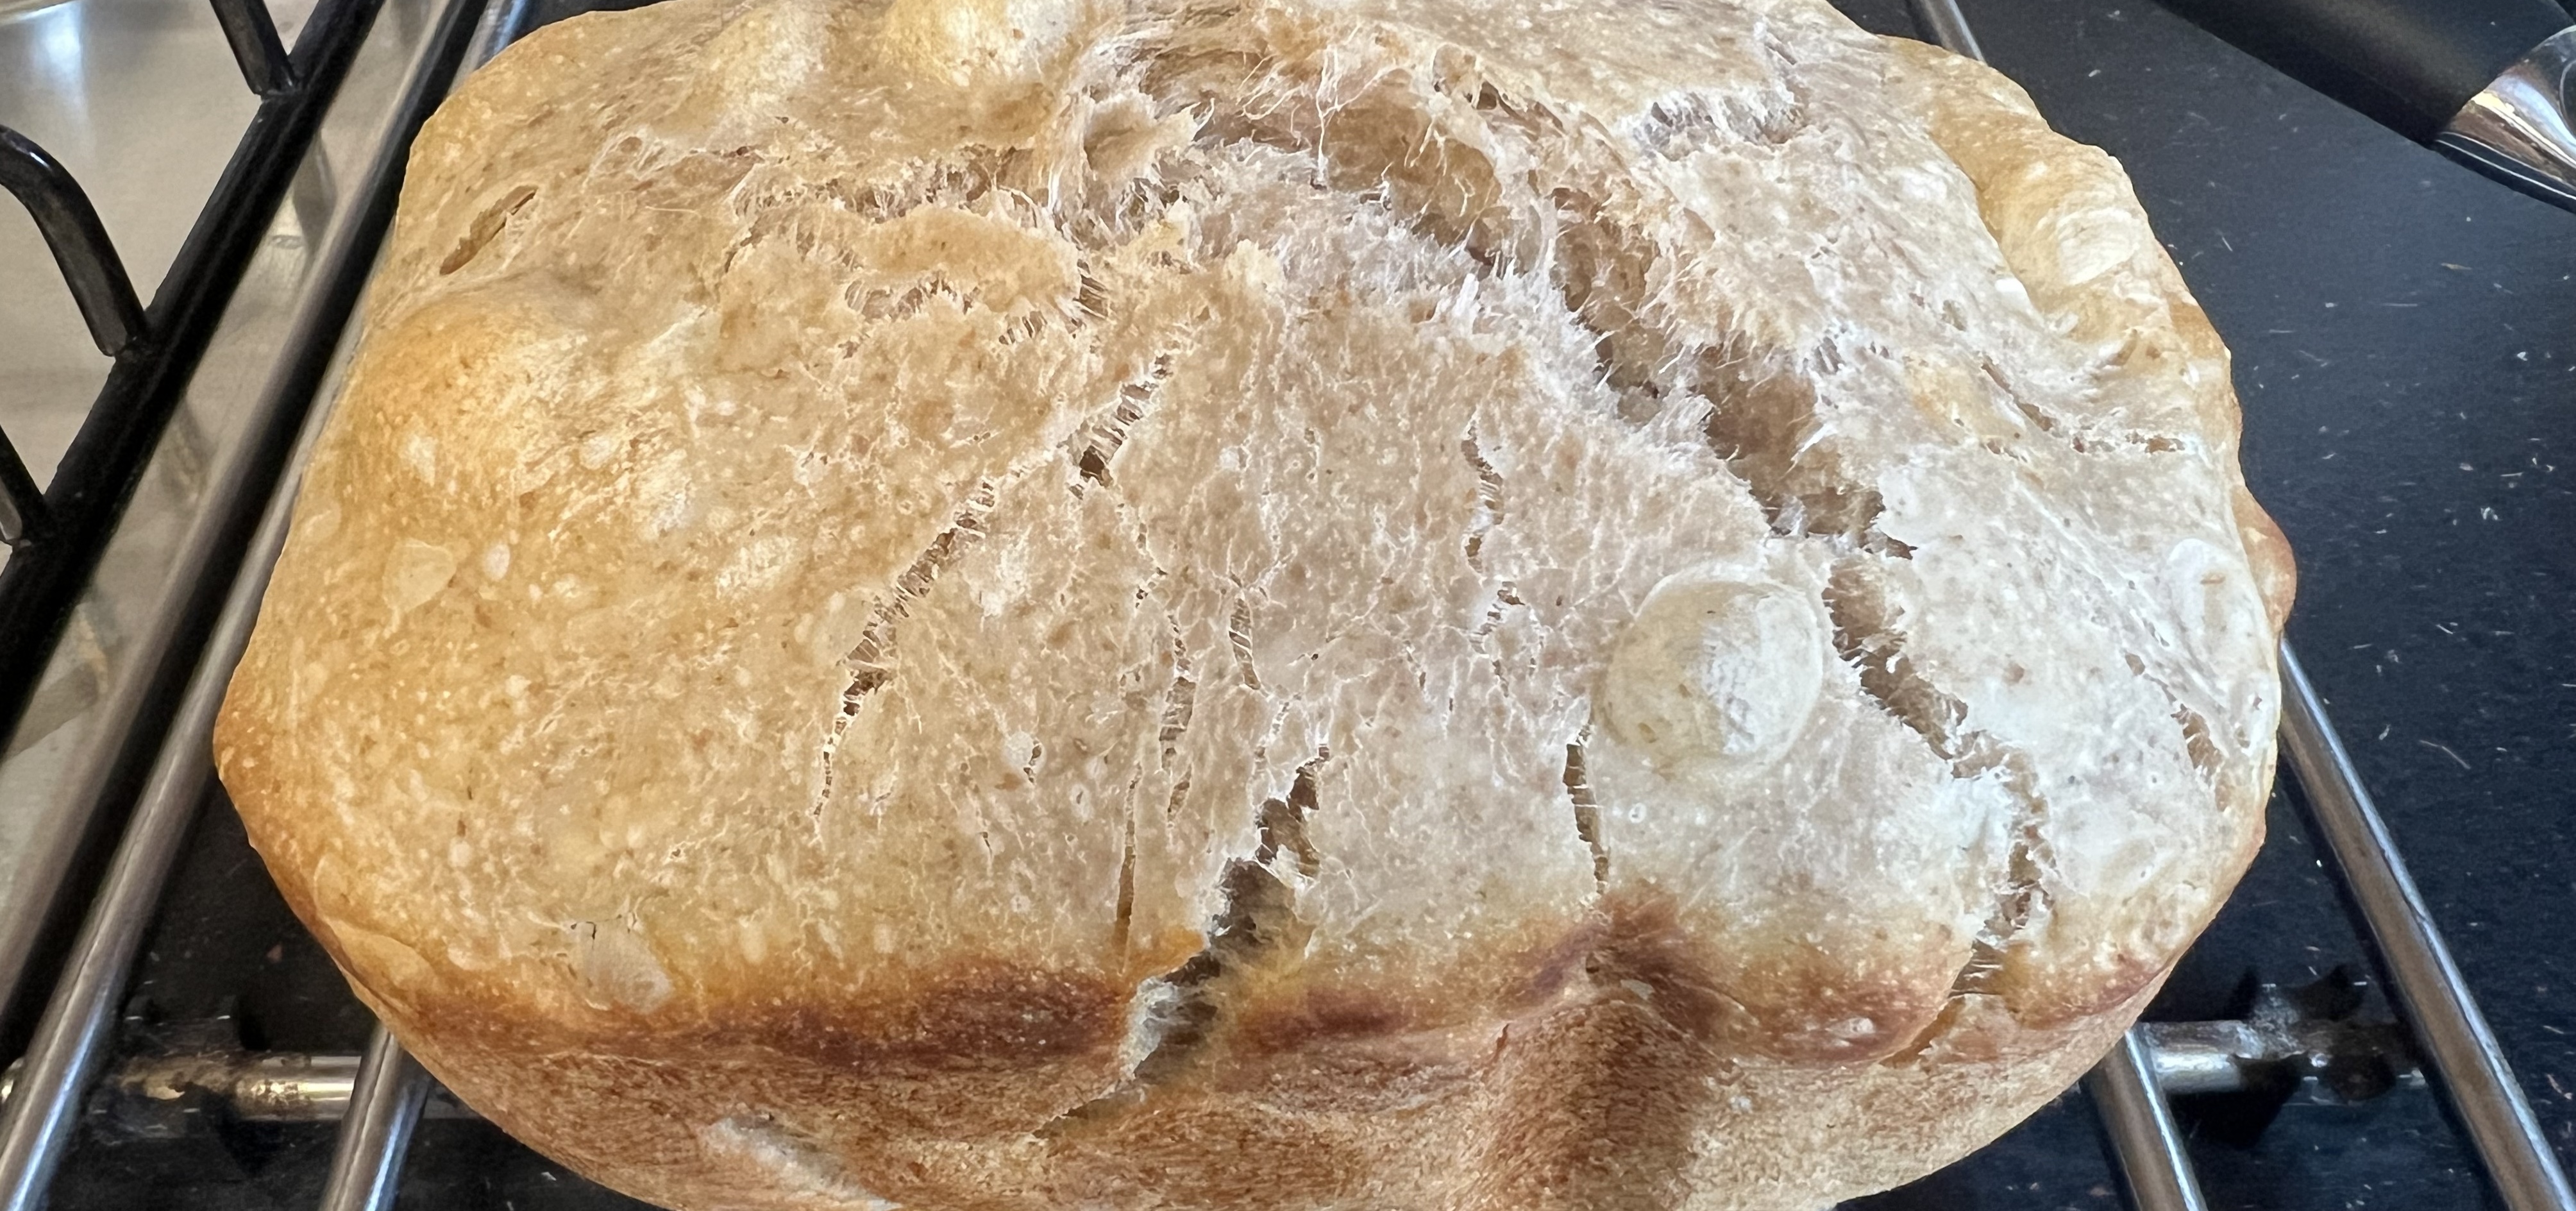
The above image is proof that any idiot can do this.
Bake Some Bread
Why make sourdough bread?
→ Because it's awesome.
I set out to create the easiest, No-Bullsh#t recipes possible.
For that reason, in both of the following recipes I use my breadmaker for mixing the ingredients.
If you prefer to use a standalone mixer, go for it. If you want to do it by hand, that's cool too.
When it comes to mixing: you can't really do it wrong.
Pick your No-Bullsh#t Method:
Breadmaker Machine-Baked Sourdough Sandwich Loaf
Ideal starter ratio → 1:1:1
| Ingredients | Metric | Imperial | Cups/Spoons |
|---|---|---|---|
| Sourdough starter | 100 g | 3.53 oz | ~⅓ cup |
| Water | 340 ml | 11.99 fl oz | ~1 ⅓ cups |
| Strong bread flour | 480 g | 16.93 oz | ~4 cups |
| Salt | 9 g | 0.32 oz | ~1½ tsp |
| Sugar | 20 g | 0.71 oz | ~1½ tbsp |
| Olive oil (mild, not virgin) | 15 g | 0.53 oz | ~1 tbsp |
- Get your breadmaker bucket and fit the mixing blade.
- In this order, add all the ingredients: water, starter, flour, salt, sugar, oil.
- Most breadmakers have a mix, or knead, or dough setting. Pick one - I use the pizza dough cycle.
Note: if the program includes a rising phase, make sure you remove your dough as soon as mixing ends, so that it doesn't get heated up for rising. - Grease the inside of a large bowl. (I use mild olive oil).
- With wet hands (otherwise the dough will stick to you like wet poop), transfer your dough from the bucket to the bowl.
Note: Don't forget to fish out the mixing blade if (like mine), it comes out buried in the dough. - It's time to stretch and fold.
- Wet your hands, grab the side of the dough, and lift it.
- Stretch it - but not too much, don't break it - then fold it over.
- Rotate the bowl a quarter-turn and do it again.
- Repeat until you've done all four sides.
- Cover the bowl with a damp tea towel and leave it for half an hour.
<Repeat steps 6 & 7 twice more.>
- Now leave it to prove/rise at room temperature. 4–8 hours on the kitchen counter should do it.
- You're looking for it to expand to 1.5x - 2x size, and get jiggly.
- It'll be nearer 4 hours if your kitchen is warm, 8 if it's cold.
- Don't go past 8 hours, or it won't rise when baking.
- Grease your breadmaker bucket (do NOT fit the mixing blade), grease it with oil, and transfer the dough into it.
- Set your breadmaker to its bake-only cycle. (In mine you can't adjust anything but the duration - go for 65mins).
- If you've got a food thermometer, check the bread when done: you want it to be over 93°C. 95°C is ideal.
- Remove the loaf from the bucket and leave it on a rack to cool for an hour.
- While it's cooling, it's actually still cooking inside - so do not cut it open for at least an hour!
- While it's cooling, it's actually still cooking inside - so do not cut it open for at least an hour!
Oven-Baked Traditional Sourdough Loaf
Ideal starter ratio → 1:3:2 - but you can use 1:1:1 for simplicity.
| Ingredients | Metric | Imperial | Cups / Spoons |
|---|---|---|---|
| Sourdough starter | 100 g | 3.53 oz | ~0.42 cup (≈ ⅖ cup) |
| Water | 350 ml | 11.83 fl oz | ~1.46 cups (≈ 1½ cups − 1 Tbsp) |
| Strong bread flour | 500 g | 17.64 oz | ~4.17 cups (≈ 4 cups + 2½ Tbsp) |
| Salt | 10 g | 0.35 oz | ~1¾ tsp |
- Get your breadmaker bucket and fit the mixing blade.
- In this order, add all the ingredients: water, starter, flour, salt.
- Most breadmakers have a mix, or knead, or dough setting. Pick one - I use the pizza dough cycle.
Note: if the program includes a rising phase, make sure you remove your dough as soon as mixing ends, so that it doesn't get heated up for rising. - Grease the inside of a large bowl. (I use mild olive oil).
- With wet hands (otherwise the dough will stick to you like wet poop), transfer your dough from the bucket to the bowl.
Note: Don't forget to fish out the mixing blade if (like mine), it comes out buried in the dough. - It's time to stretch and fold.
- Wet your hands, grab the side of the dough, and lift it.
- Stretch it - but not too much, don't break it - then fold it over.
- Rotate the bowl a quarter-turn and do it again.
- Repeat until you've done all four sides.
- Cover the bowl with a damp tea towel and leave it for half an hour.
<Repeat steps 6 & 7 once.>
- Now leave it to prove/rise at room temperature . 4–6 hours on the kitchen counter should do it.
- You're looking for it to expand by 30% to 50%, and become domed and jiggly.
- It'll be nearer 4 hours if your kitchen is warm, 6 if it's cold.
- Don't go past 6 hours, or it won't rise when baking.
- Tip the dough onto a lightly floured surface.
- Shape it into a round boule (don't get stressy about it, just make it into a round mound).
- Put it seam-side-up into a floured bowl.
- Cover the bowl tightly. If it's got a lid: great. Otherwise, clingfilm is good.
- Refrigerate for 12 to 24 hours.
- When ready to bake - Oven Preparation:
- put your dutch-oven or cast-iron casserole dish+lid into the oven
- Preheat to 250°C (fan 230°C)
- Leave heating for at least 30 mins
- Take dough out of fridge
- Tip onto a sheet of baking paper
- Dust lightly with flour
- With a sharp knife, slash the top from one end to the other, around 1cm deep
- Remove the dutch-oven or casserole dish from the oven
- Lower the dough on its baking paper into the dish
- Put the lid on.
- Place back in oven.
- Advanced tip: put a baking tray on the shelf below the bread, this will prevent the bottom from burning.
- Bake with lid on for 20 minutes at 250°C (fan 230°C)
- Remove the lid, turn heat down to 220°C (200°C fan) and bake for another 20-25 minutes.
- If you've got a food thermometer, check the bread when done: you want it to be around 96°C.
- Remove the loaf from the dutch-oven or casserole dish and leave it on a rack to cool for an hour.
- While it's cooling, it's actually still cooking inside - so do not cut it open for at least an hour!